Cara Corel Photo Paint X4 Tutorials
Step 1: Select the object and text to which you will apply the metallic effect (bronze), and create an outlined contour around them using the Contour tool ( Toolbox > Contour). Step 2: Separate the contours of objects by right-clicking on the contours and selecting “Break contour group apart” ( CTRL+K), and copy them to a new page (page 2), for future use. Keep only the main objects on page 1.
Page 2: reserve this image for future use Page 1: Work on this image Step 3: Select only the first object (balloon). Hit F11 to open the Fountain Fill settings, and edit the colors of the gradient as close as possible to the example below: Step 4: Repeat the action for the text or simply copy the object’s properties. To do this, select the vector object (balloon), click on: Edit > Copy properties from and apply the same fill to the text. Step 5: Select only the vector object and convert it to a bitmap. Go to: Bitmap > Convert to bitmap.
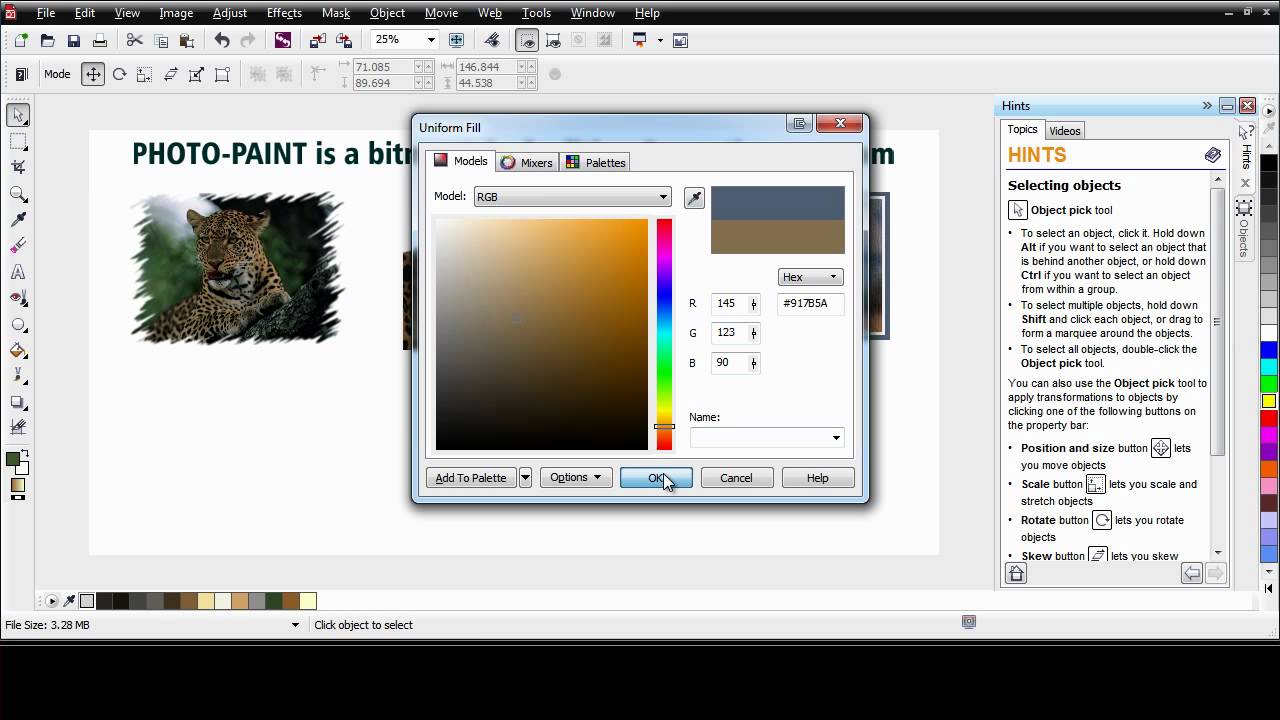
Thanks very much for your feedback. The PHOTO-PAINT program is not available as a standalone product, it is part of the CorelDRAW Graphics Suite. This suite is a professional graphic design program that includes PHOTO-PAINT and 6 additional software programs plus 7 supporting applications like a barcode wizard and online font identifier. Open the photograph in Corel PHOTO-PAINT X7 and look at where the present lighting is coming from. The lighting is very bland, almost dull. Adiz razhabovning nikoh tuji. But what is good, is that it’s possible to work with the light and shadows and contrasts.
After converting, go to: Bitmap > Edit bitmap in order to open the image in Corel Photo-PAINT. Step 6: In PHOTO-PAINT select the object and go to: Effects > Texture > Plastic Step 7: In “ Light Color” settings, choose a color that simulates “bronze”. Adjust “ Highlight“, “ Depth” and “ Smoothness” to your own preferences. Step 8: Select the Liquid Smear tool from the Toolbox (a) and adjust nib size, pressure, pen pressure, etc. In the Property Bar.
(b) Step 9: With the Smear tool active, hold down the left button and carefully drag the mouse over the light and dark areas to create tone distortions. If necessary, change the nib size and the pressure. TIP: Drag the mouse slowly from the darker to the lighter areas. Rub again over the affected areas to add minor corrections. Save and go back to CorelDRAW. Black white 2 patch 14 download.
Step 10: Repeat steps 5 to 9 with the Text object. Save and go back to CorelDRAW. Step 11: Go to Page 2 and bring back the outline (boundary) that was reserved as shown in Step 2. Make sure that all objects are centered by selecting the text and the balloon and pressing C on the keyboard. Select only the boundary and apply a Drop Shadow effect ( Toolbox > Drop Shadow tool).
Drag a color similar to “bronze” over to the shadow to change the shadow color. Step 12: Now select the individual objects (balloon and text) and adjust the Brightness/Contrast/Intensity.